Free Crochet Pattern and Video Tutorial - Top Hat
Welcome!
I hope you will enjoy the creation of this little top hat! I've included the written instructions below; OR, you can find a full step-by-step video tutorial on my YouTube channel - linked below! Either way, please don't hesitate to contact me with any questions that you may have along the way. Happy crocheting!
Materials You Will Need:
- Crochet hook size: 3.5mm
- Medium/worsted weight yarn: black and gray
- Yarn needle
- Optional: Sewing needle and black thread for sewing down the yarn ends
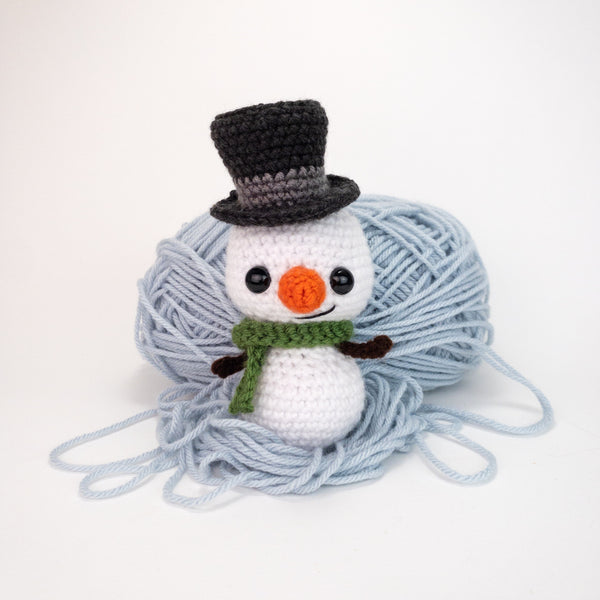
Final measurement for the top hat with a 3.5mm hook is 1.75 inches (or 4.45 cm) tall.
Abbreviations:
ch – chain
sc – single crochet
sts – stitches
dec – invisible decrease st*
sl st – slip stitch
*Invisible decrease stitch explanation: Insert the hook into the front loop only of the first stitch of the decrease. Then, without yarning over, insert your hook into the front loop of the following stitch. Yarn over and pull through the first 2 loops. Yarn over again and pull through the last 2 loops on the hook.
Note #1: This pattern is crocheted in continuous rounds (you will not join each round).
Note #2: In my patterns, I begin each circle with “ch 2, 6 sc in first ch.” Another way of beginning is to start with a magic circle. If you are more familiar with this method, just do 6 sc into your magic circle.
Top Hat
With black yarn,
R1: Ch 2, 6 sc in first ch. (6 sts)
R2: Inc in each sc around. (12 sts)
R3: (Sc 1, inc), 6 times. (18 sts)
R4: (Sc 2, inc), 6 times. (24 sts)
R5: (Sc 3, inc), 6 times. (30 sts)
R6: Sc 30 in the BACK LOOPS ONLY of the previous round. (30 sts)
R7-11: Sc 30. (5 total rounds)
Switch to gray,
R12: Sc 30. (30 sts)
R13: (Sc 13, dec), 2 times. (28 sts)
R14: Sc 28. (28 sts)
Switch to black,
R15: In the FRONT LOOPS ONLY, (Sc 3, inc), 7 times. (35 sts)
R16: (Sc 1, inc), 17 times, sc 1. (52)
R17: Sc 52. (52 sts)
Do a sl st to join to the first st of the round. Then fasten off, leaving a yarn tail for sewing (if you want to sew the hat to whatever you are making), or a short tail for weaving in (if you want the hat to be separate).
Now either stuff the hat and sew it on, or weave in the yarn ends and stitch in place with matching sewing thread and a sewing needle.
And there you go, you are done! Thank you so much for joining me in making a little top hat! Enjoy!